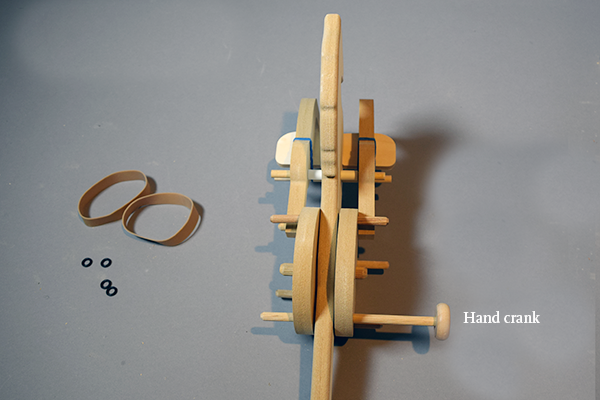
We are accustomed to teaching with a model in front of a child, but these instructions should make it so that anyone can build one without our presence. We urge that parents and teachers be there to guide – but to allow the child to try to let the materials (and a picture of the final product) guide them. A wrong direction is always un-doable until you've glued something.
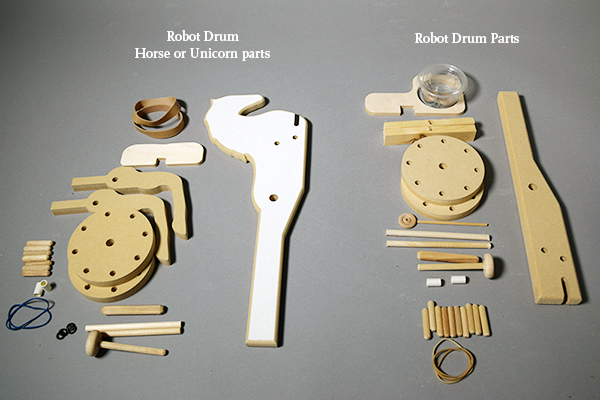
The Parts.
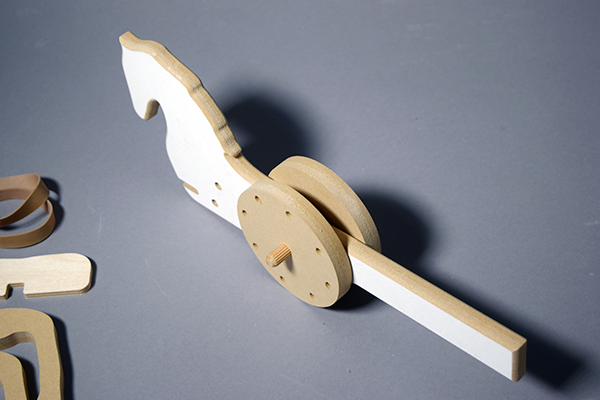
Step 1. Insert the 1/2" fluted dowel into one of the wheels (be sure the holes in one side of the wheel is facing outward) and put the dowel through the large hole in the horse's body. Then push the other wheel onto the dowel. The wheels should fit close to the horse's body but still be able to turn easily. The wheels should be tight on the axle. If not, put some glue on them. The dowel should be centered in the assembly.
Step 2. Put the rectangular plywood strip into the slot in the horse's chest and put the two 1/4" dowels through the 1/4" holes in the body just behind the wooden strip.
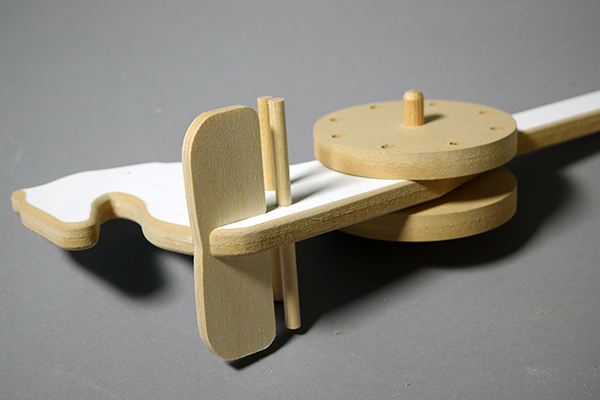
A Front view of Step 2.
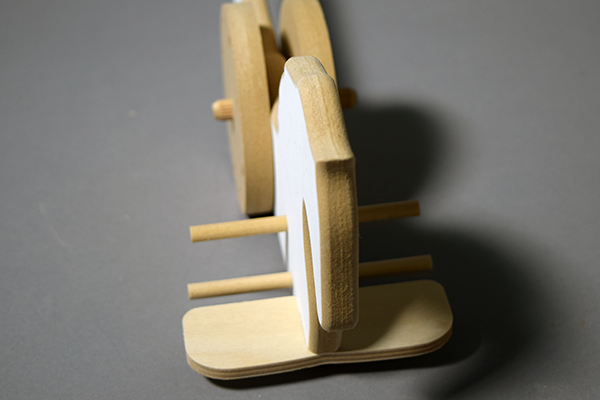
Step 3. Put one white plastic bushing/spacer over the top 1/4" dowel. Take the rubberband and loop it over the bottom dowel.
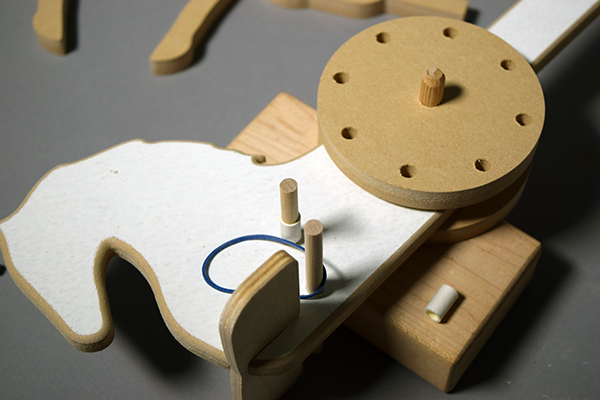
Step 4 and 5. Place a leg over the top dowel and bring the rubberband over the top of the leg and loop it onto the lower dowel.
You will do the same on the other side. The pictures tell the story here...And a view from the front when both legs are on.
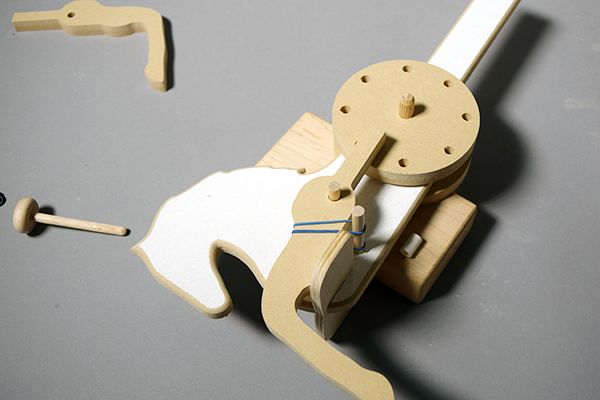
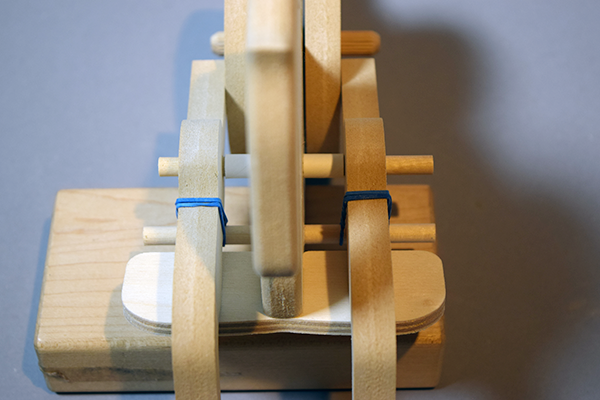
Step 6. This view shows the hand crank placed into one of the holes on one side of the body (can be right or left handed) and the rest of the short fluted dowels put into various holes on both sides of the wheels so that, when you crank it, different patterns will be heard when the horse's legs strike the wooded strip.
The fat rubberbands are there if you want to put them onto the circumference of the wheels so that you could push the horse along a table or the floor to make the legs move instead of hand cranking it. O rings are to go on the outside of the horses legs on the 1/4" dowels if needed.
